Building a dressform
If you have ever seen my Instagram stories, you will know that I both have a standard adjustable mannequin, and complain about said mannequin constantly. It is a body shaped item that I can hang things on, but any similarity to my own body is fleeting at best.
Therefore, I decided to treat myself for my birthday this year by giving myself a 3 week long project, and making my own. There are several ways to do this, to varying degrees of accuracy, but I decided to go with buying a half-leg and extra arm pattern from Bootstrap Fahions (https://patterns.bootstrapfashion.com/). There was very little I could find by way of people making this specific form, so I wanted to document how I found the process, and some of my thoughts. No affiliations!
To start, I had to provide a relatively thorough set of measurements which are used to create the pattern. These all had diagrams indicating how to measure correctly, which I found really helpful. I opted for seam allowance included, and had all the patterns about an hour later, which was really good.

These were actually not the worst home printed patterns I’ve ever put together, they lined up very well and I didn’t have any issues with things not quite looking right.
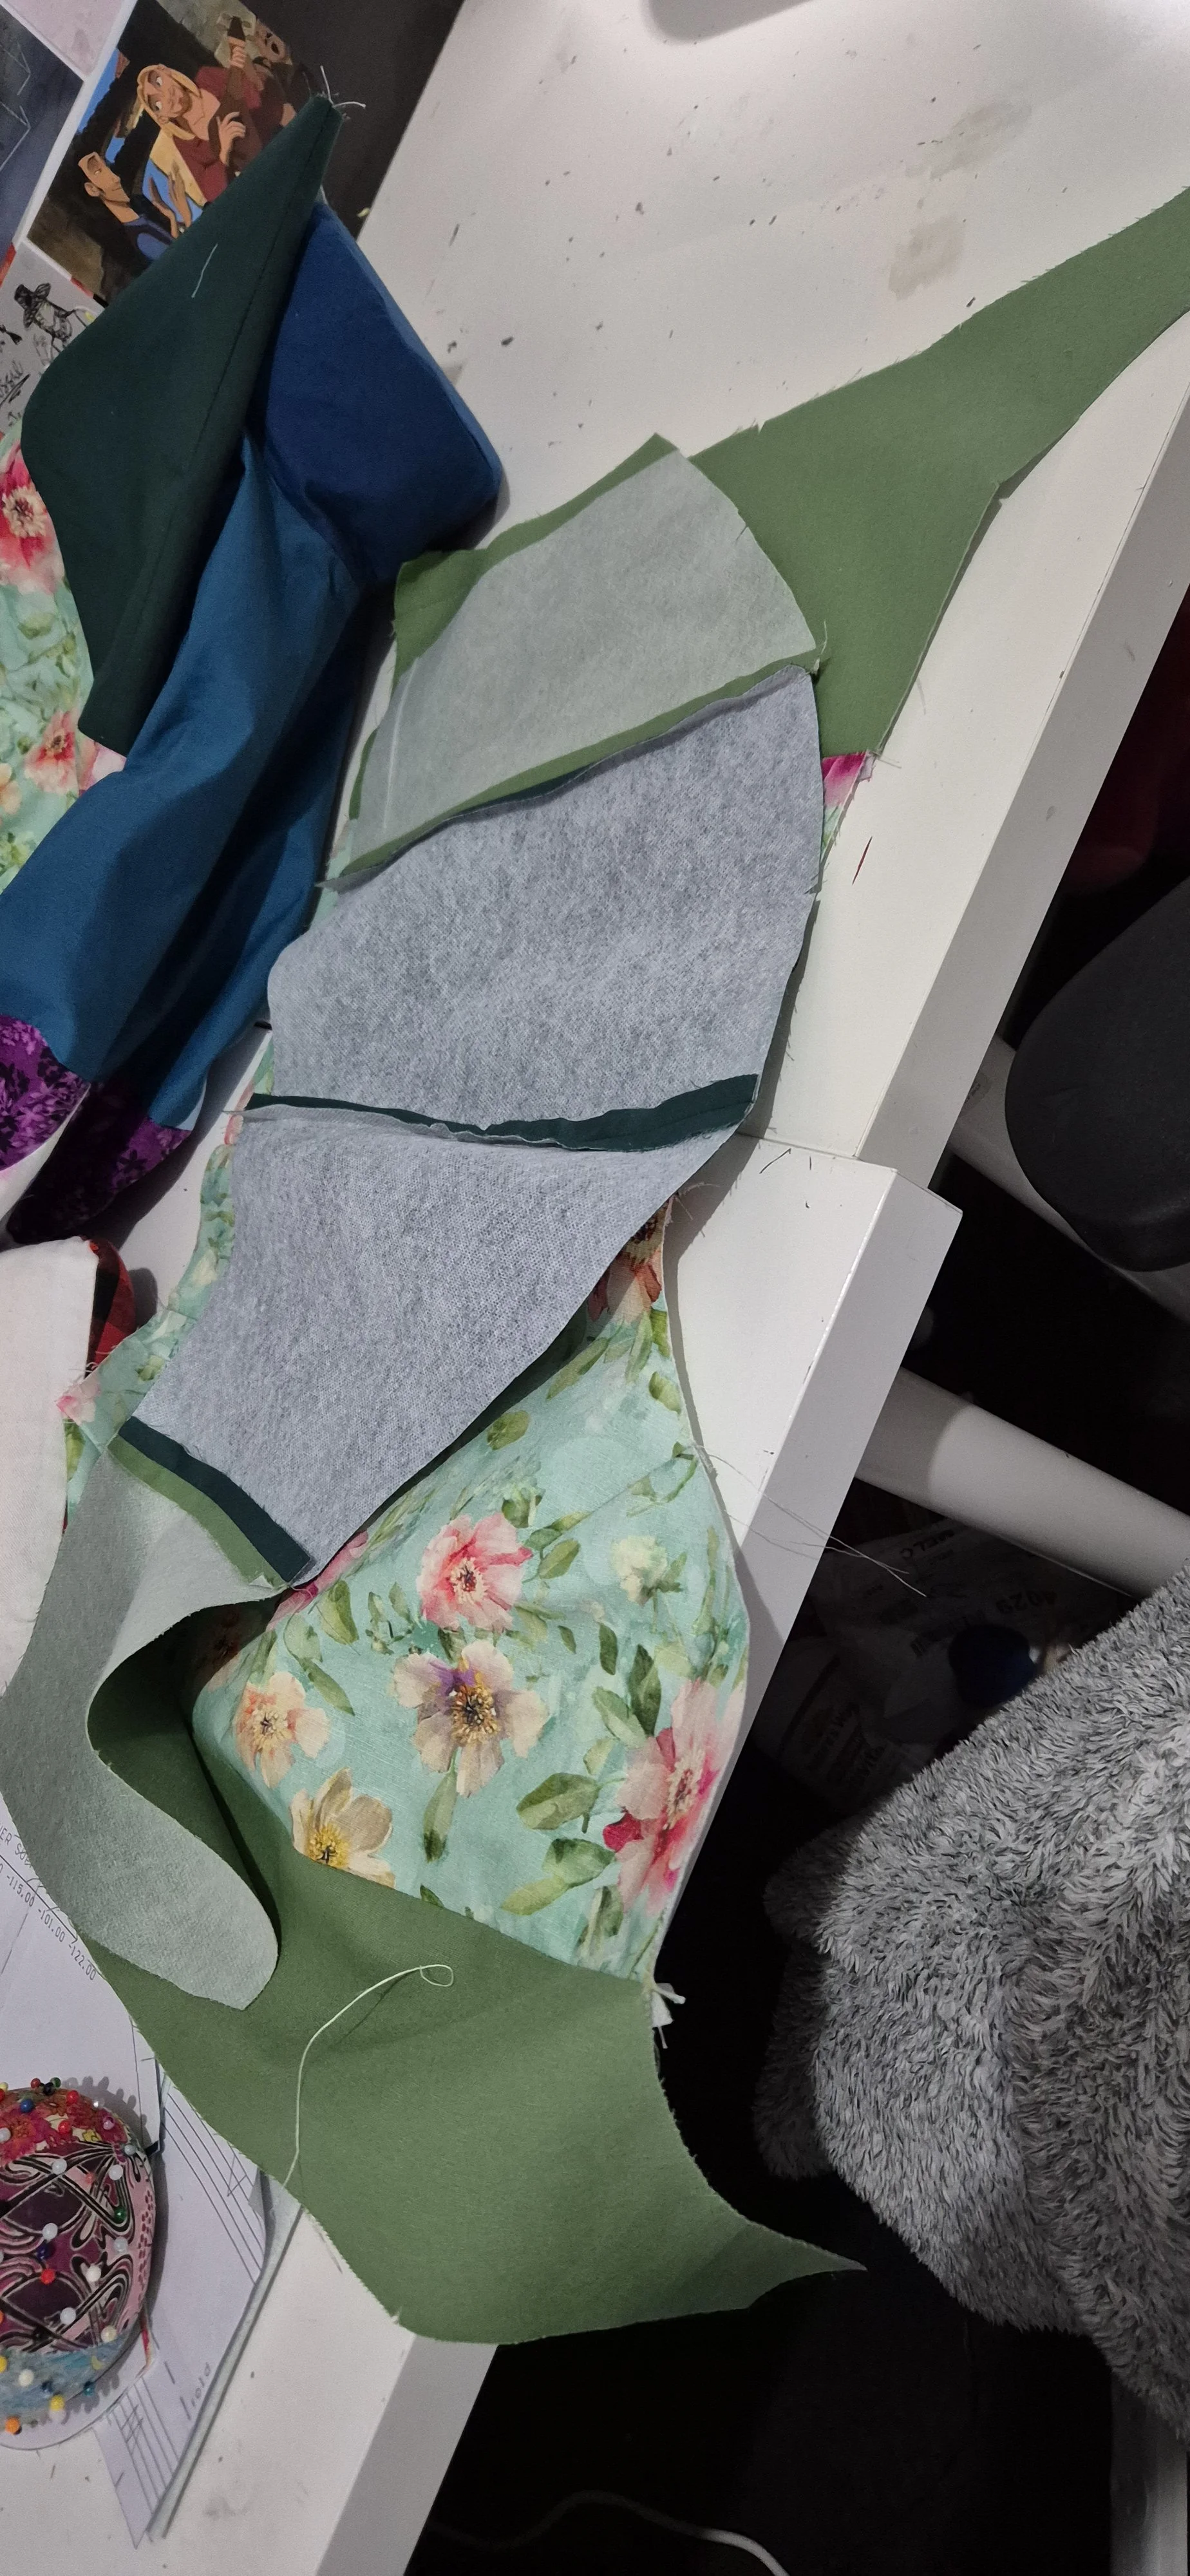
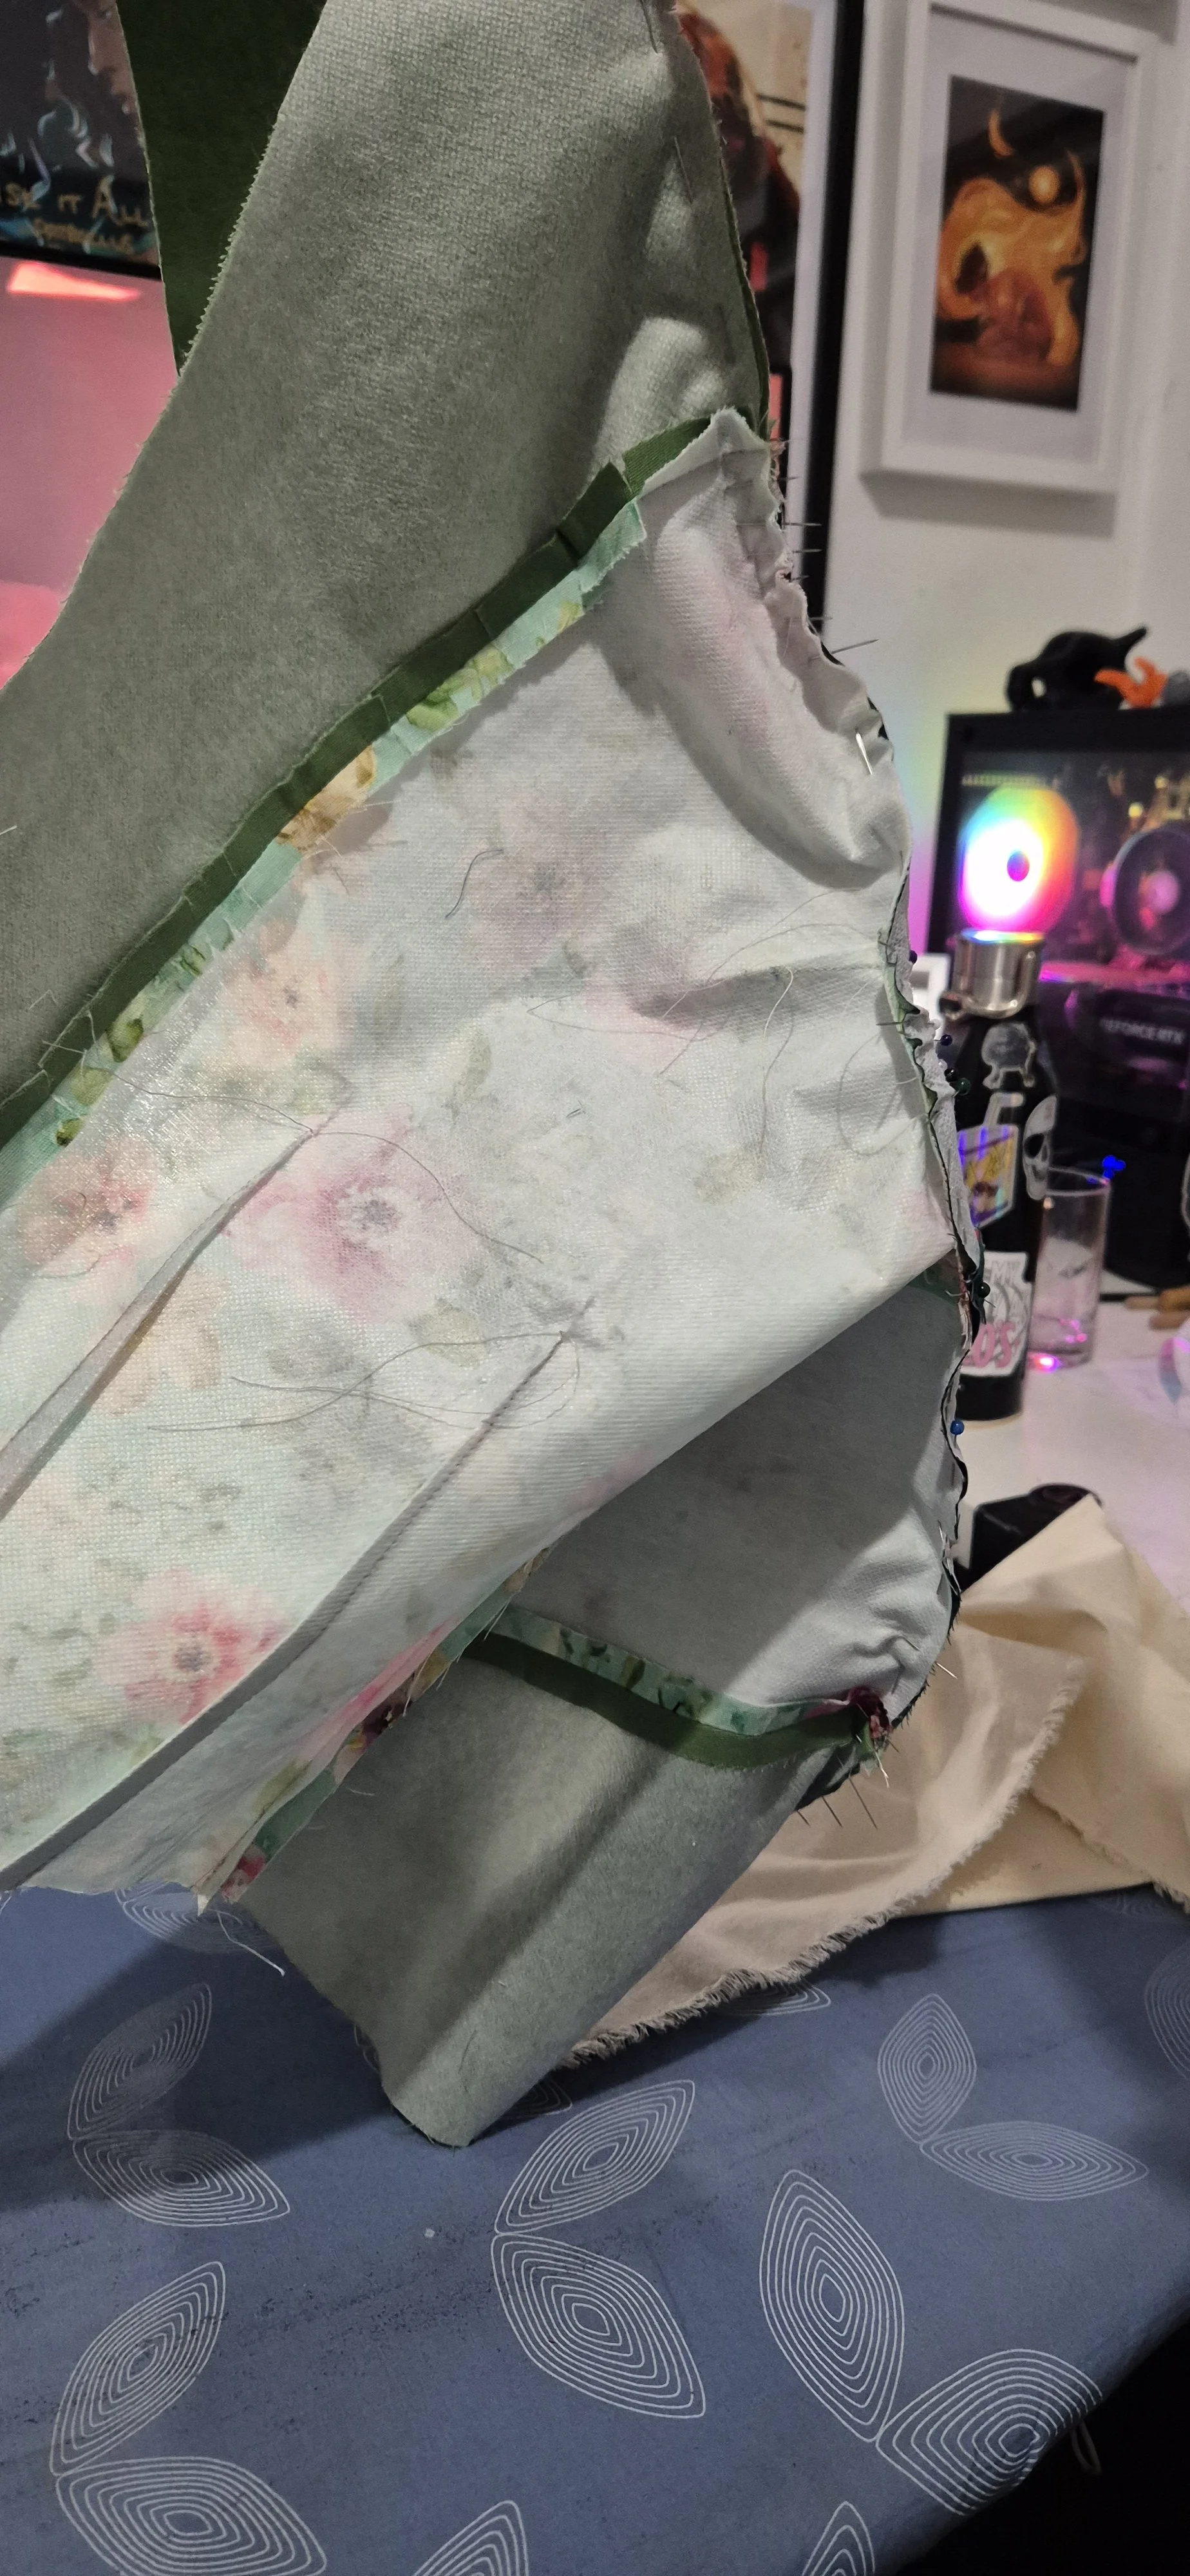
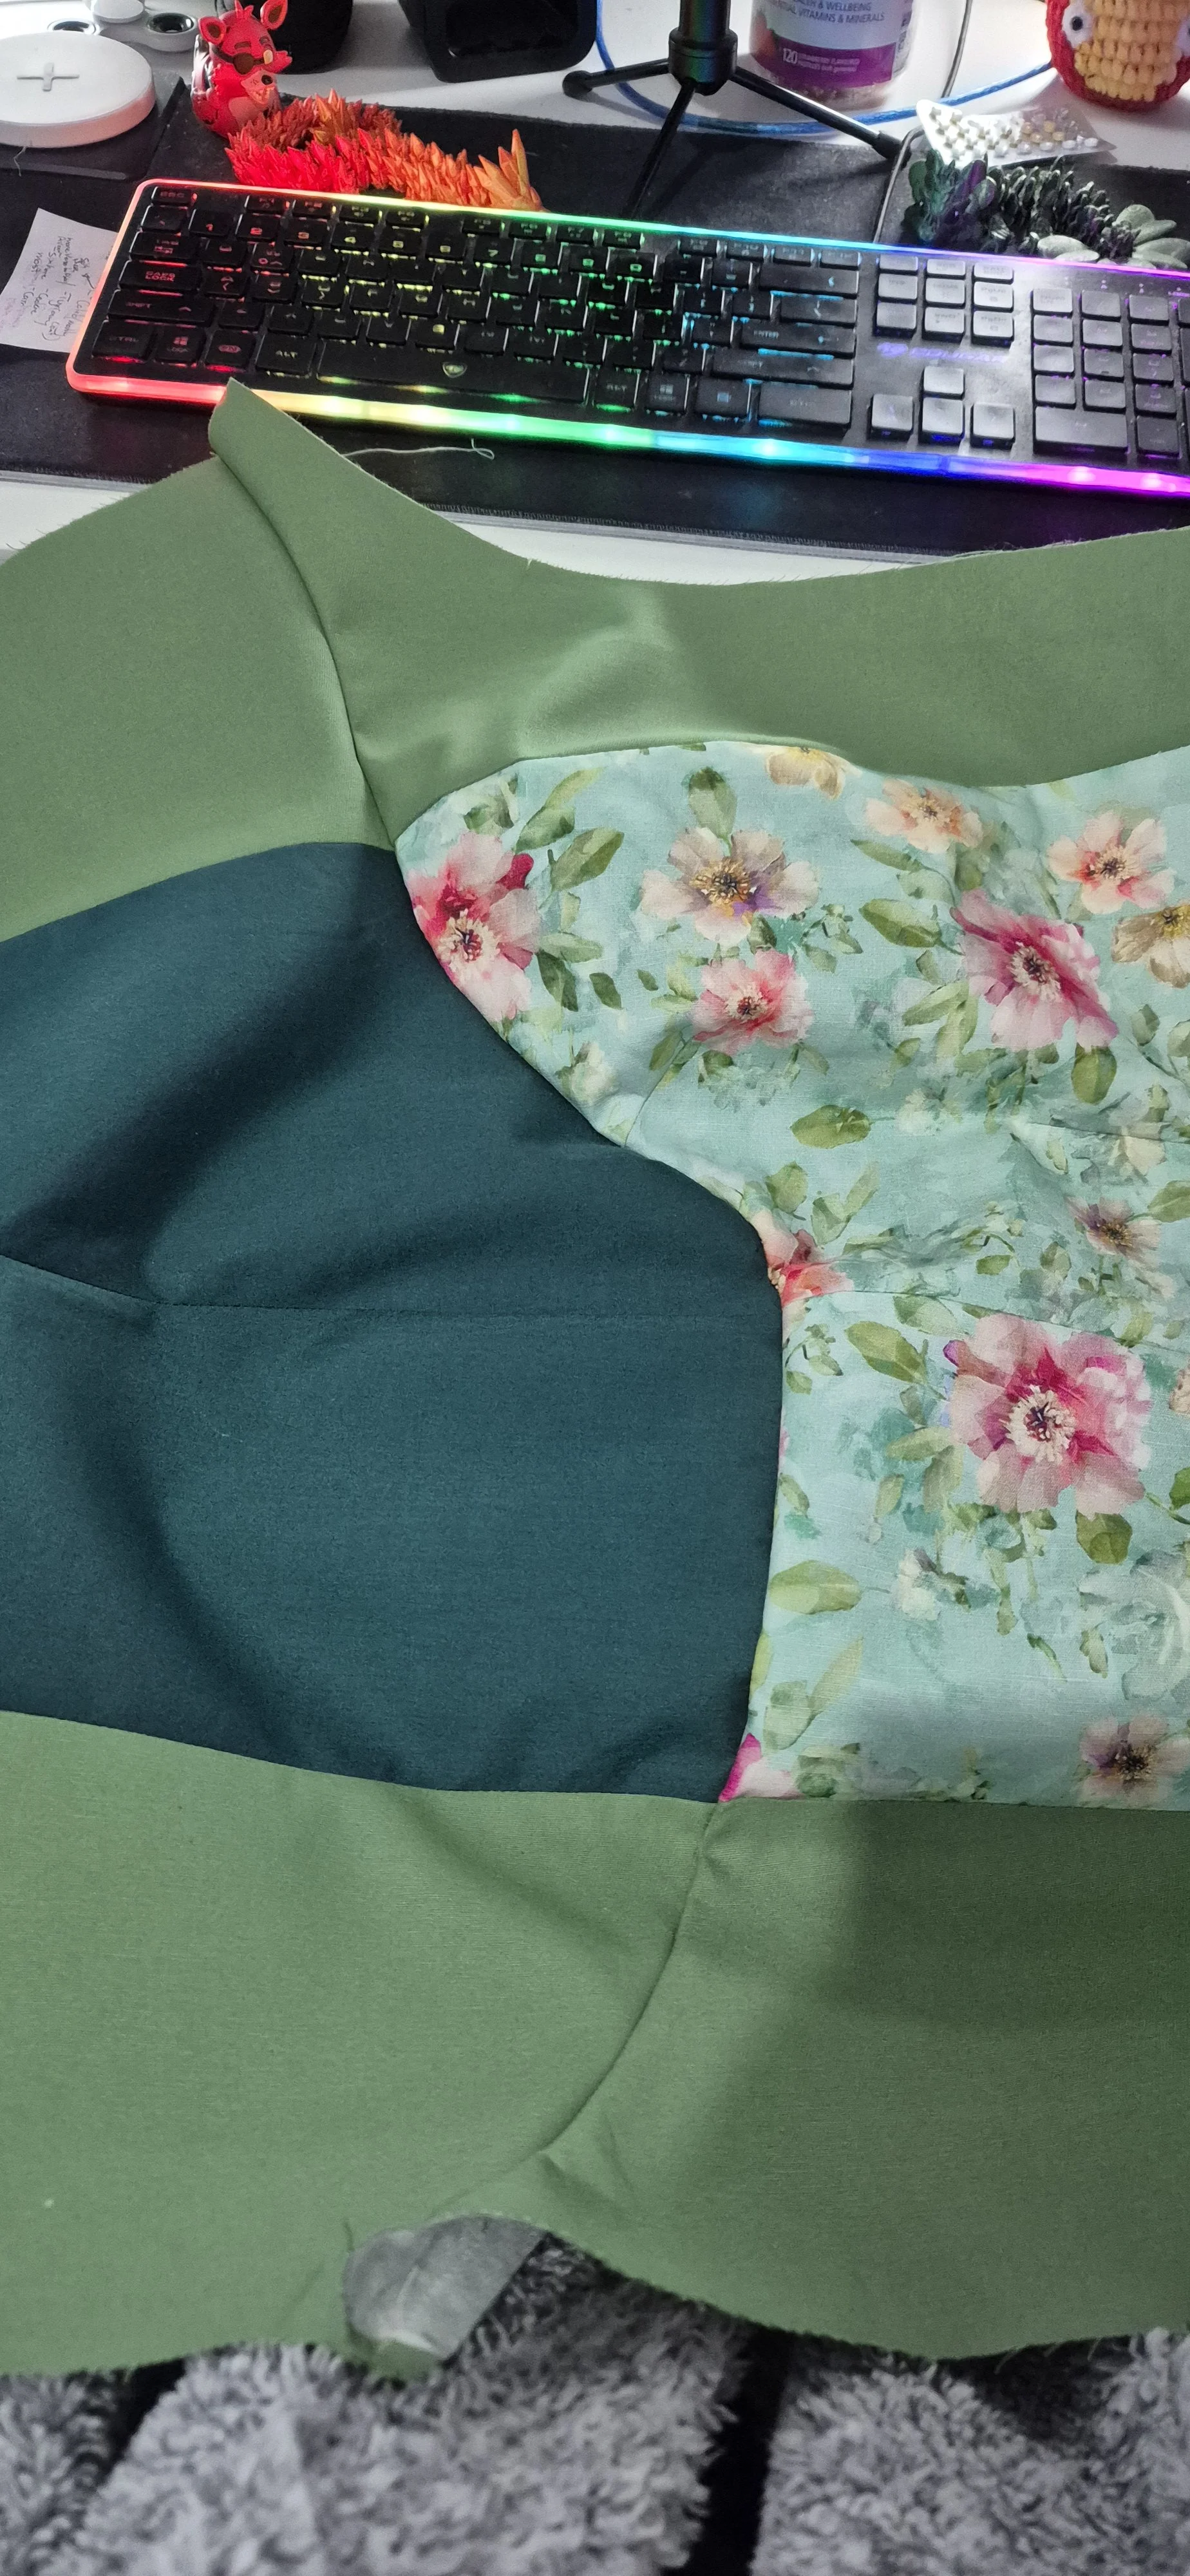
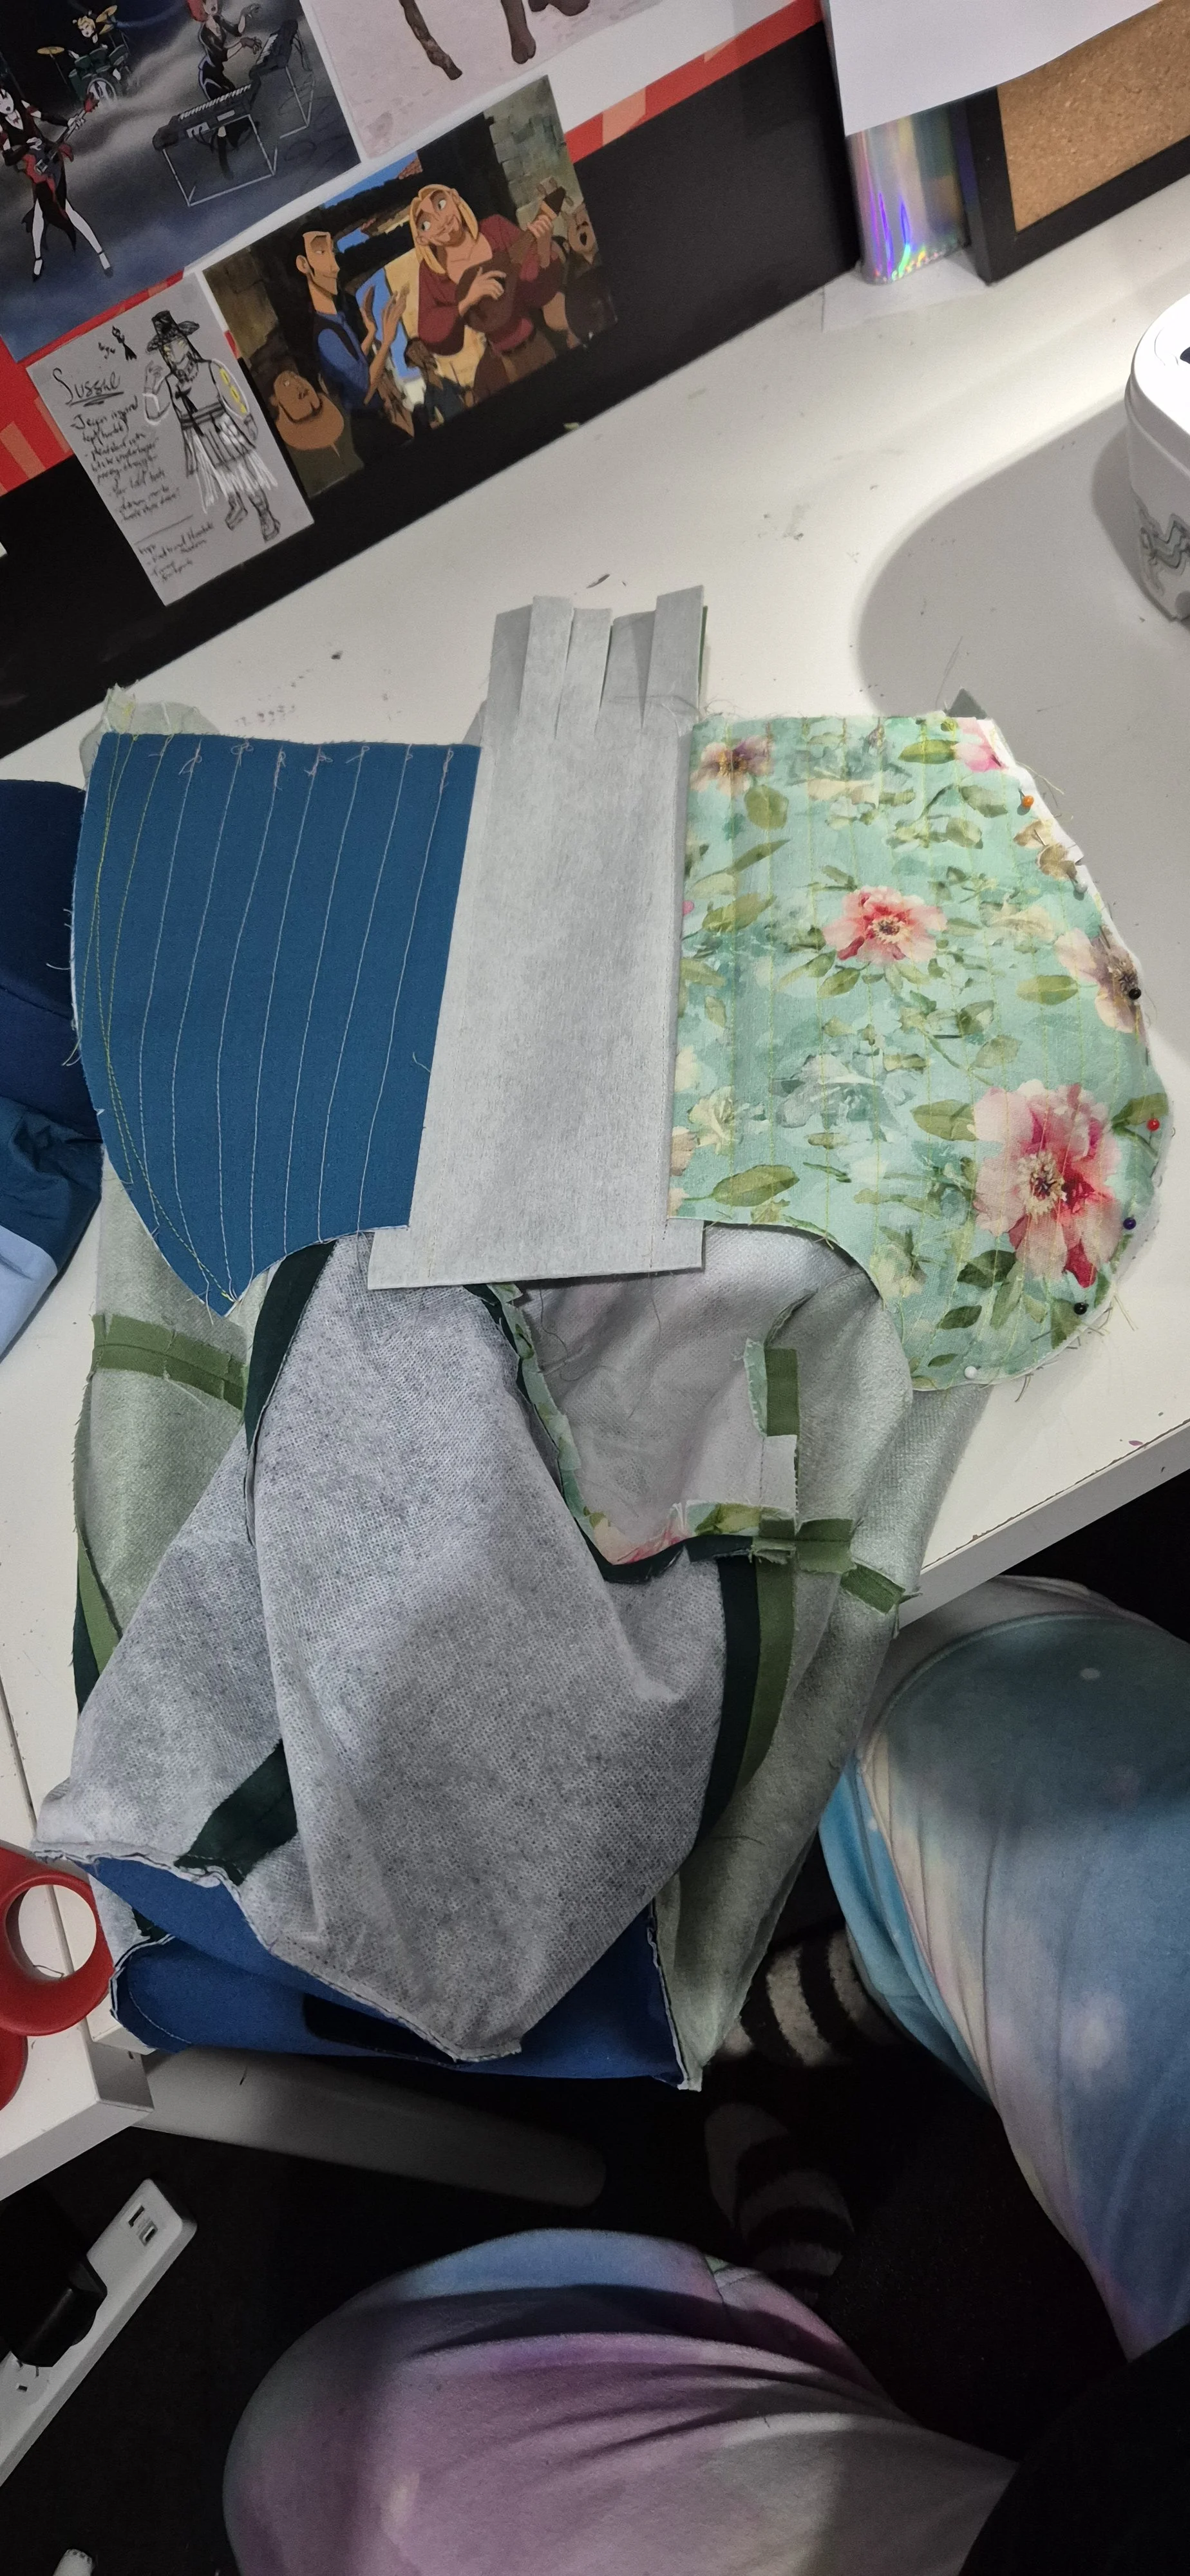
I figured this was as good a way as any to use up some scraps, and found a bunch of various cotton wovens that made a cohesive colour scheme. This did eat about 8 of my scrap fabrics, which was great for my stash. If you were building from scratch I’d estimate it was around 3m of fabric all up. Possibly a bit more for interfacing, just with getting things oriented correctly, I used a heafy duty fusible for the thinner cottons, and a lighter weight on the drill I had, just to try to keep things similar. I’d recommend just sticking with the heavy stuff if you weren’t going for a patchwork look, it really helped keep everythng crisp.
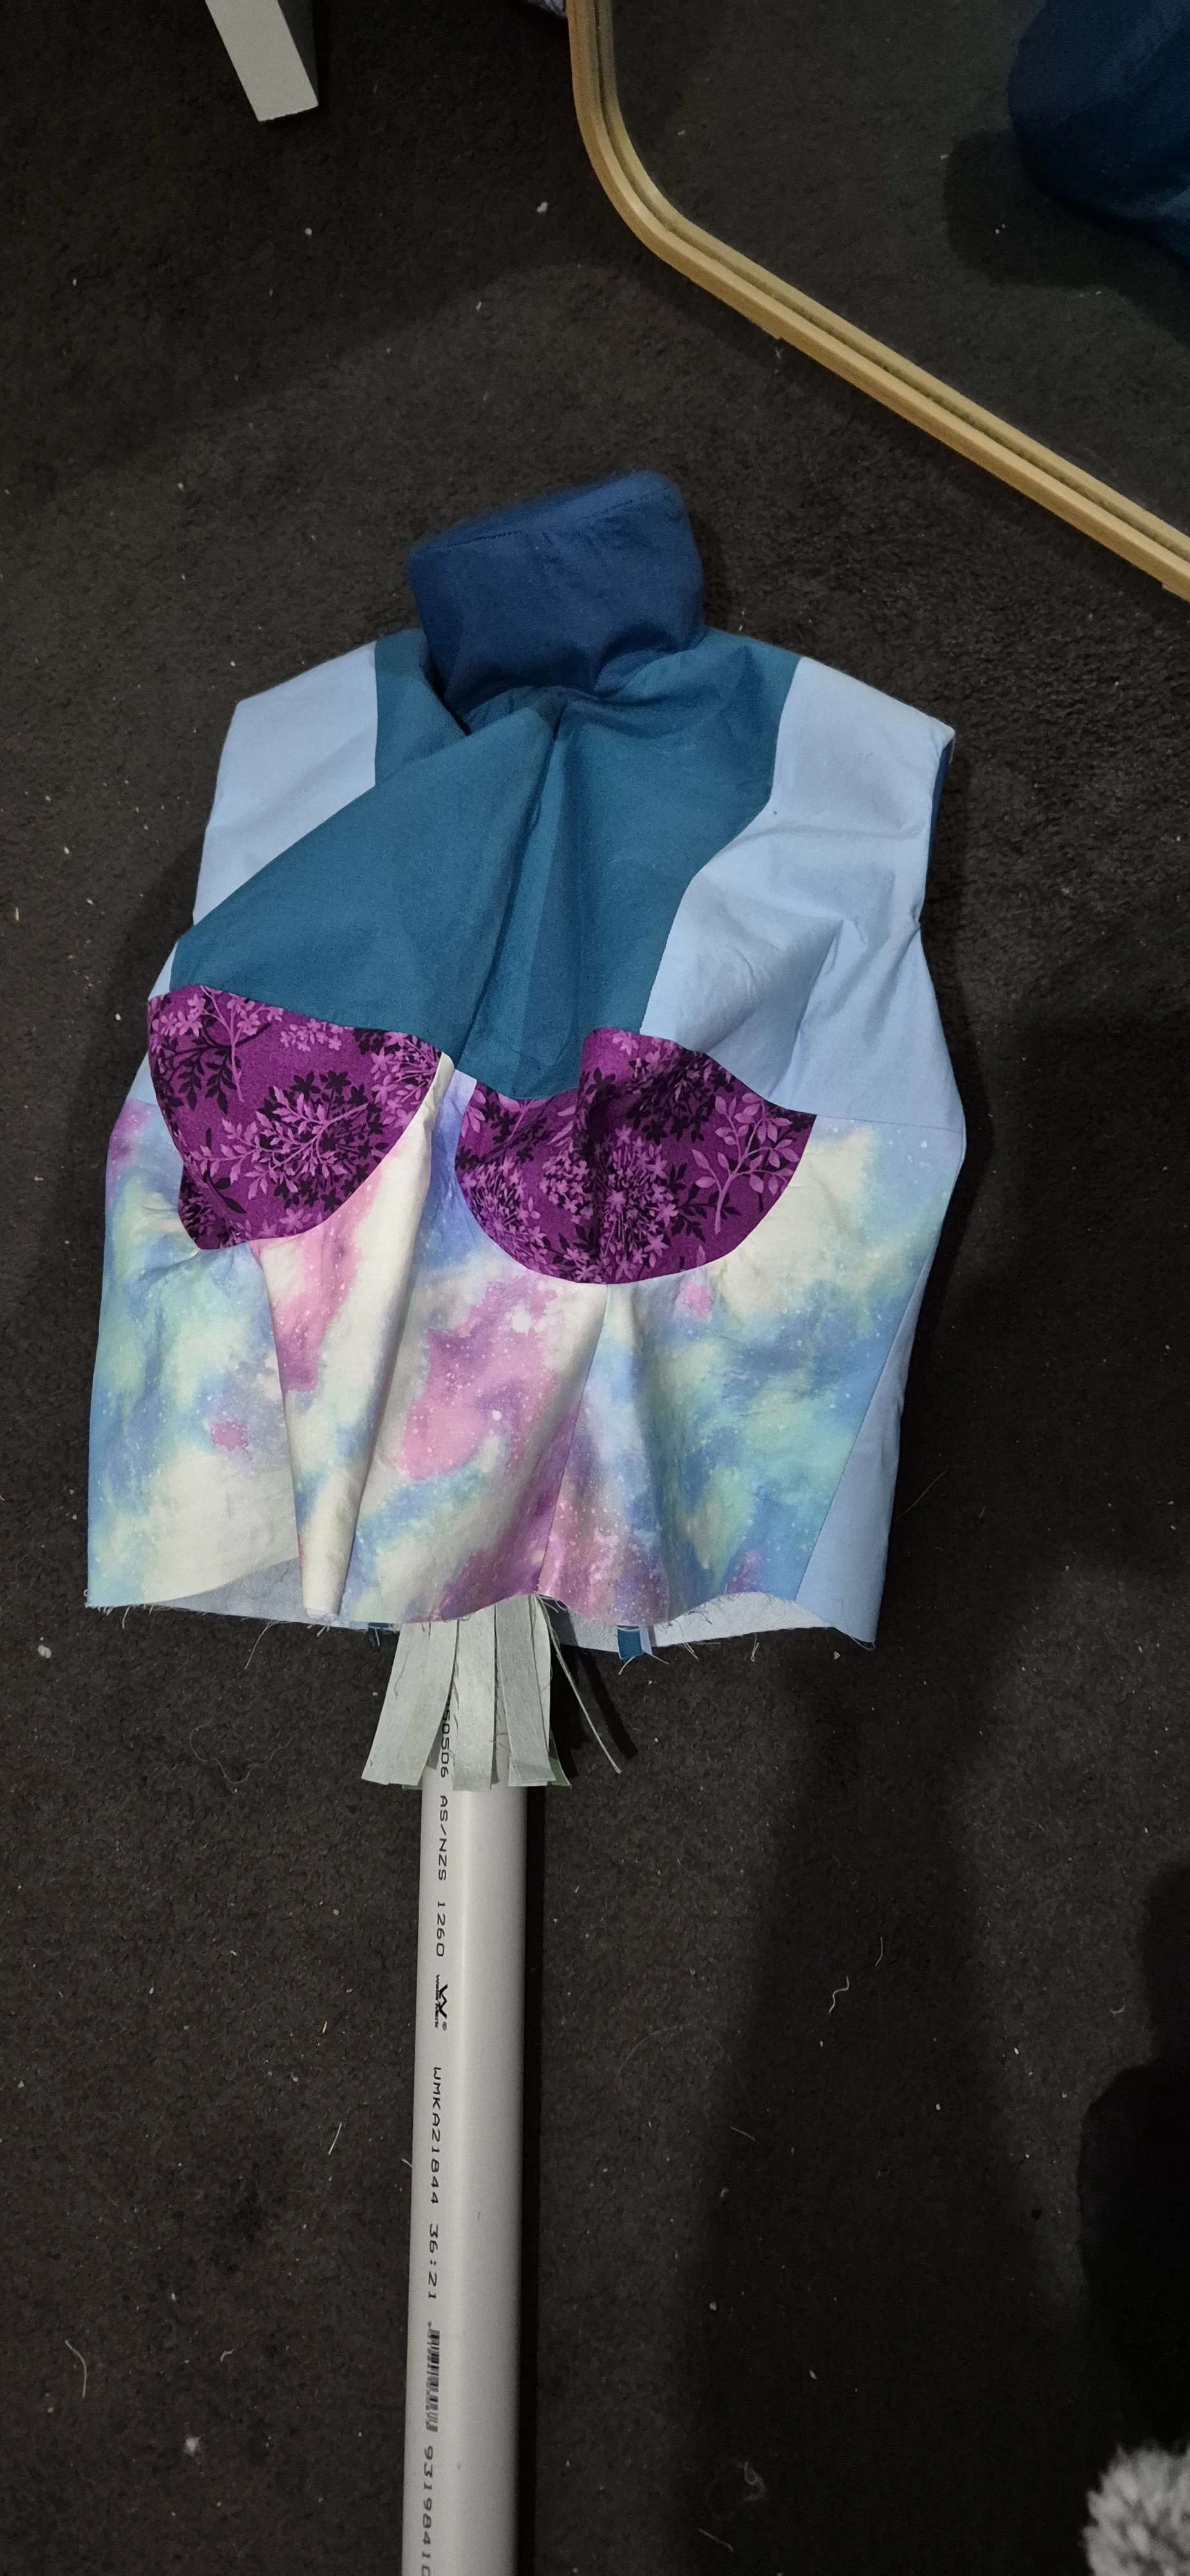
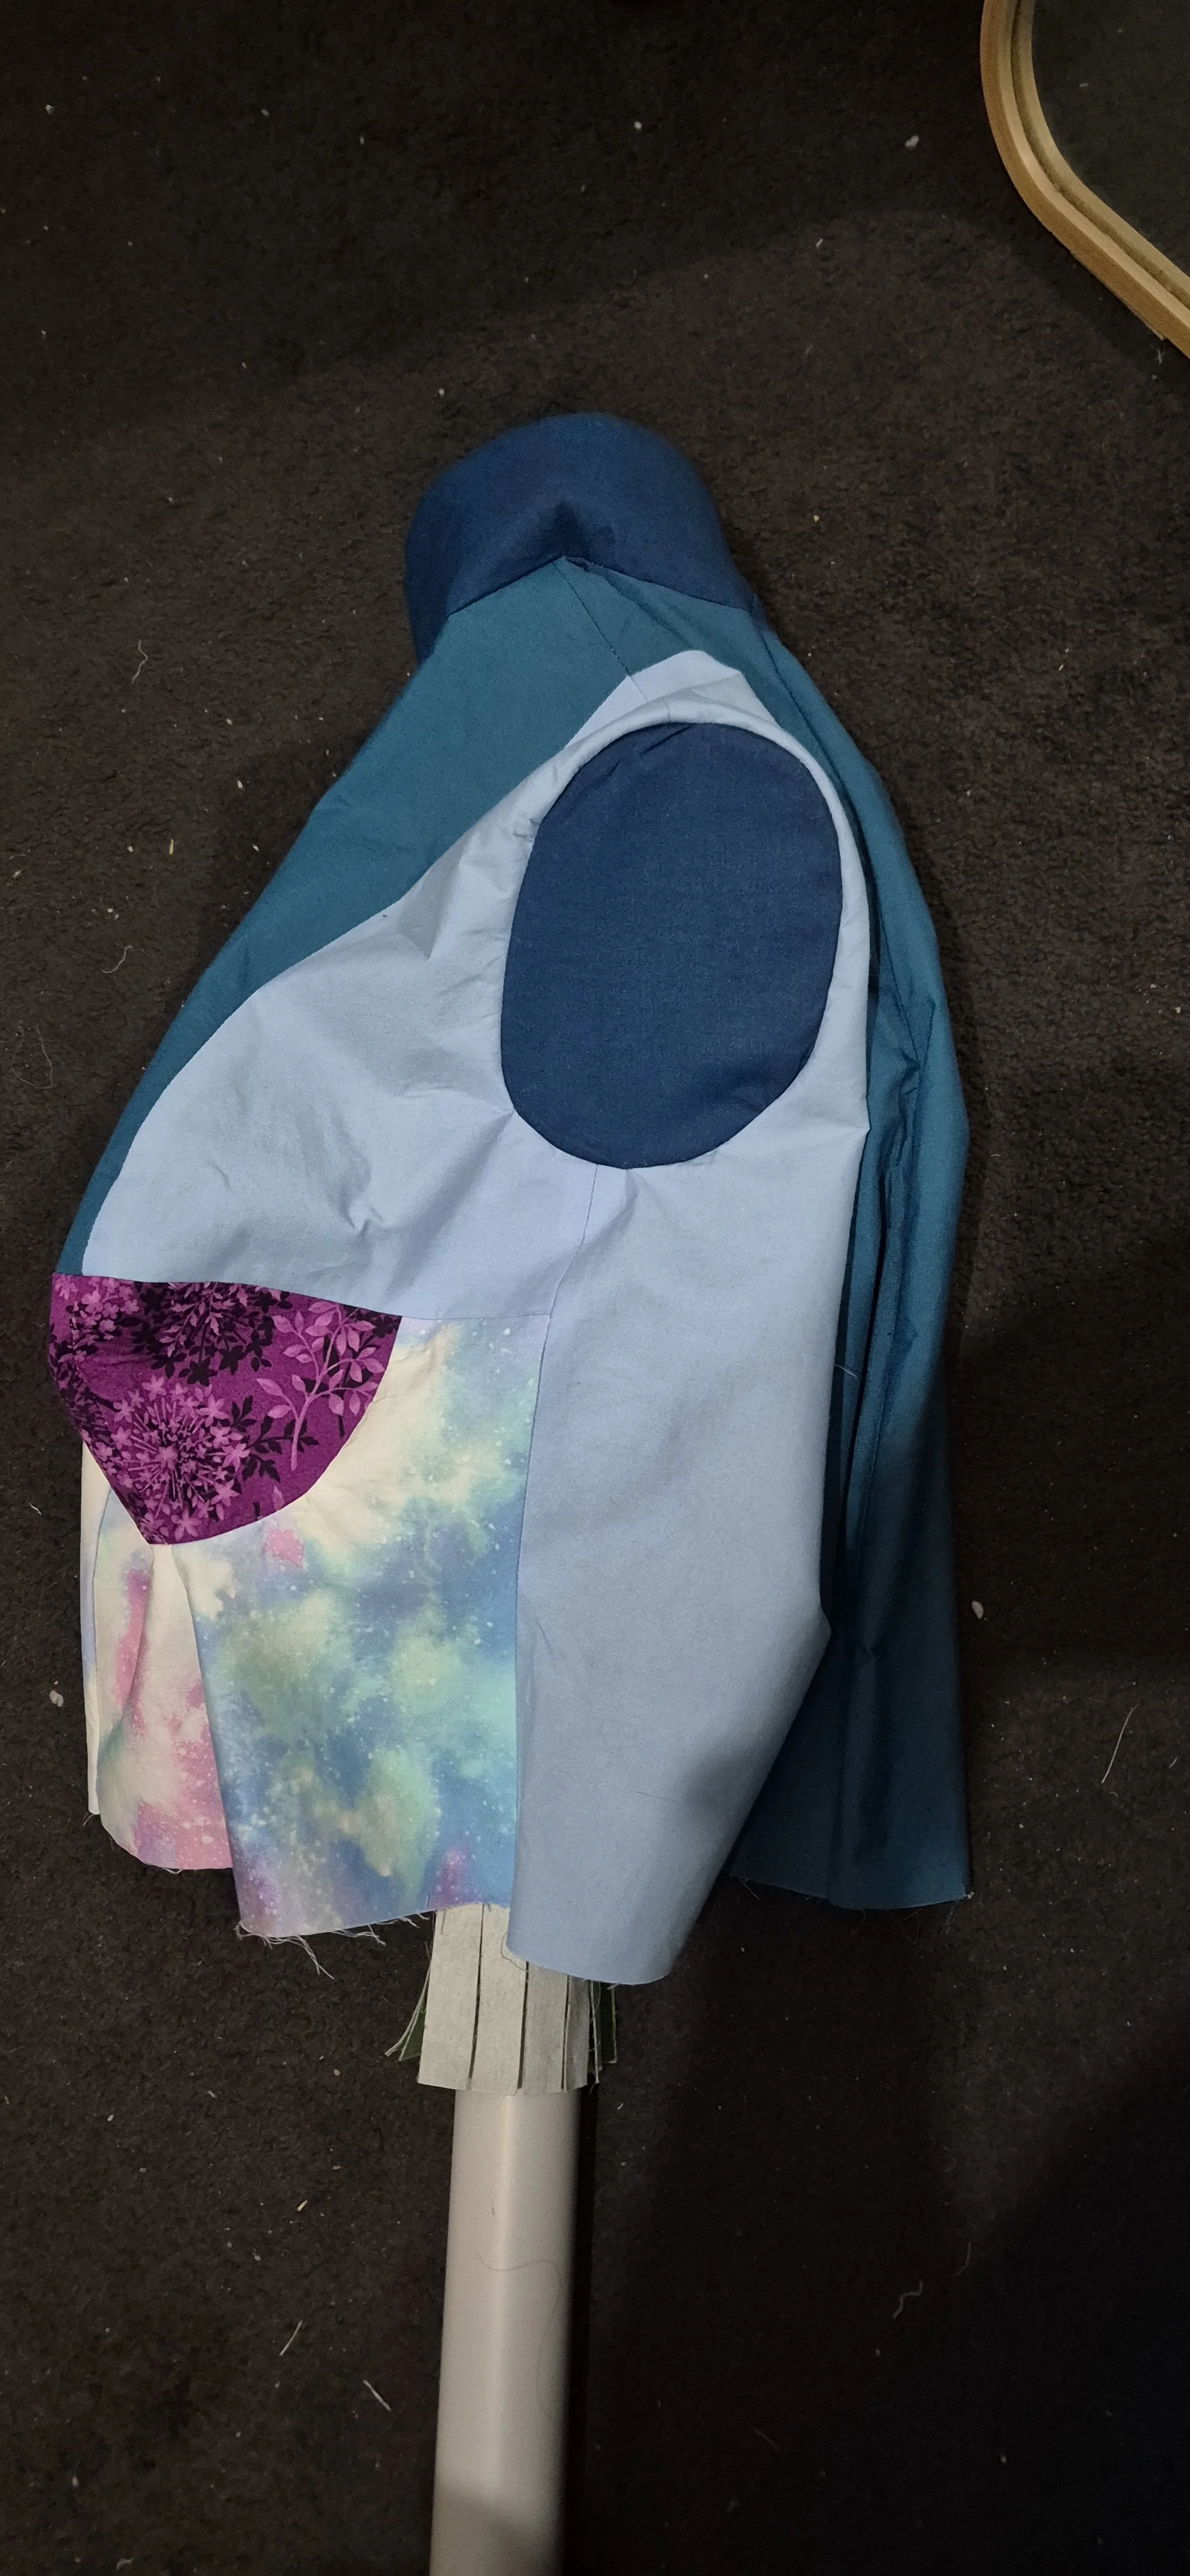
Overall assembly I completed in about a week, just doing evening sewing after work, and I think I could have done it faster if I tried. I would say I found this to be more of an intermediate/advanced project. Depending on your build. The legs also made it a bit harder, for several reasons, but we will get to that. For me, I had several instances of complex curves that needed to be eased into place, especially around the bust and hips. It wasn’t too bad, but I would have struggled a few years ago, with less experience. Because everything is so interfaced easing can be a bit tricky, I had a lot of pins going and blood sacrifices to the sewing gods were made.

The pattern came with both an instructional video and a written step by step tutorial with pictures, which I was thankful for. I am not a video person and do not want to rewind constantly to find where I’m up to. The written instructions I’d say were 90% useful. Overall really thorough, went in an order that made sense, and the pictures were pretty good.
Where I got unstuck was the legs. Both sets of instructions assumed you were either making to no leg, or full leg versions. This lead to a situation where the dressform was meant to be sat on a rolling gurney at floor level (what is the point), or would have floating PVC pipes in the interior, exposed to the polyfill stuffing and unsupported.
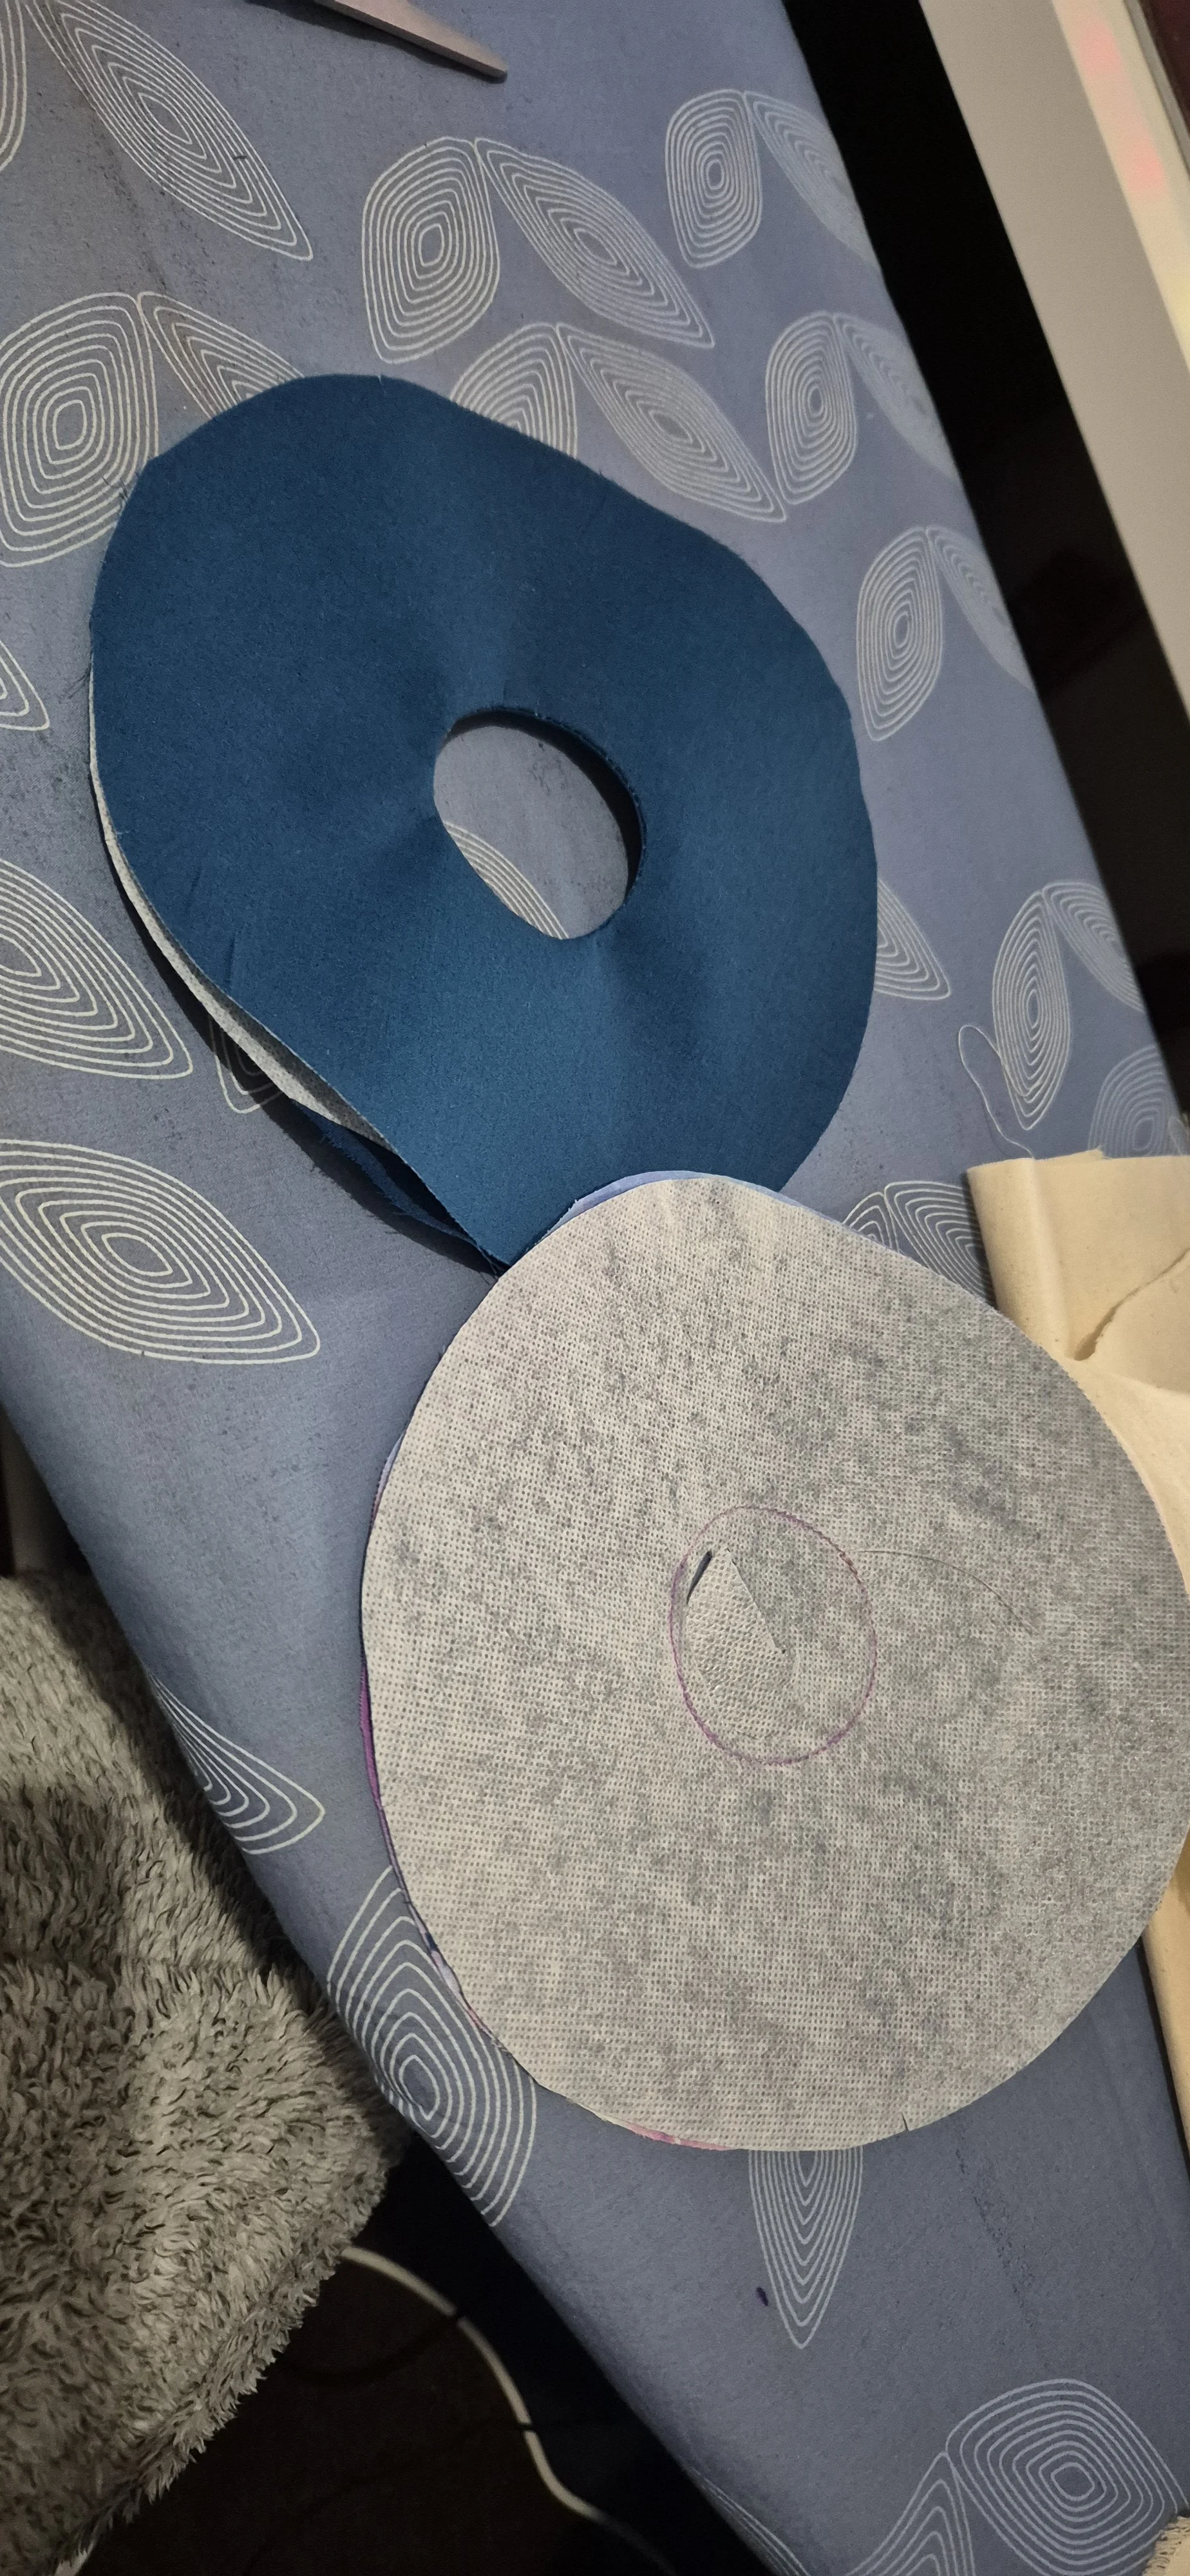
I was not enthused with either option, and ended up modifying the interior support structure to create pipe sleeves for the legs, so they sit on the waist cardboard, and are fed through to help with the correct angles. This mostly worked? It’s still a bit messy around the leg openings, but it’s better than raw cardbaord and polyfill being exposed, in my opinion at least. I don’t see myself taking it off the stand often, so hopefuilly now that it’s stable we are good.
Minor update now I’ve had it a while: the cardboard I used for arm and leg support is collapsing, that mas as well not be there. I’d recommned a very solid cardboard, multiple layers, or a different material.


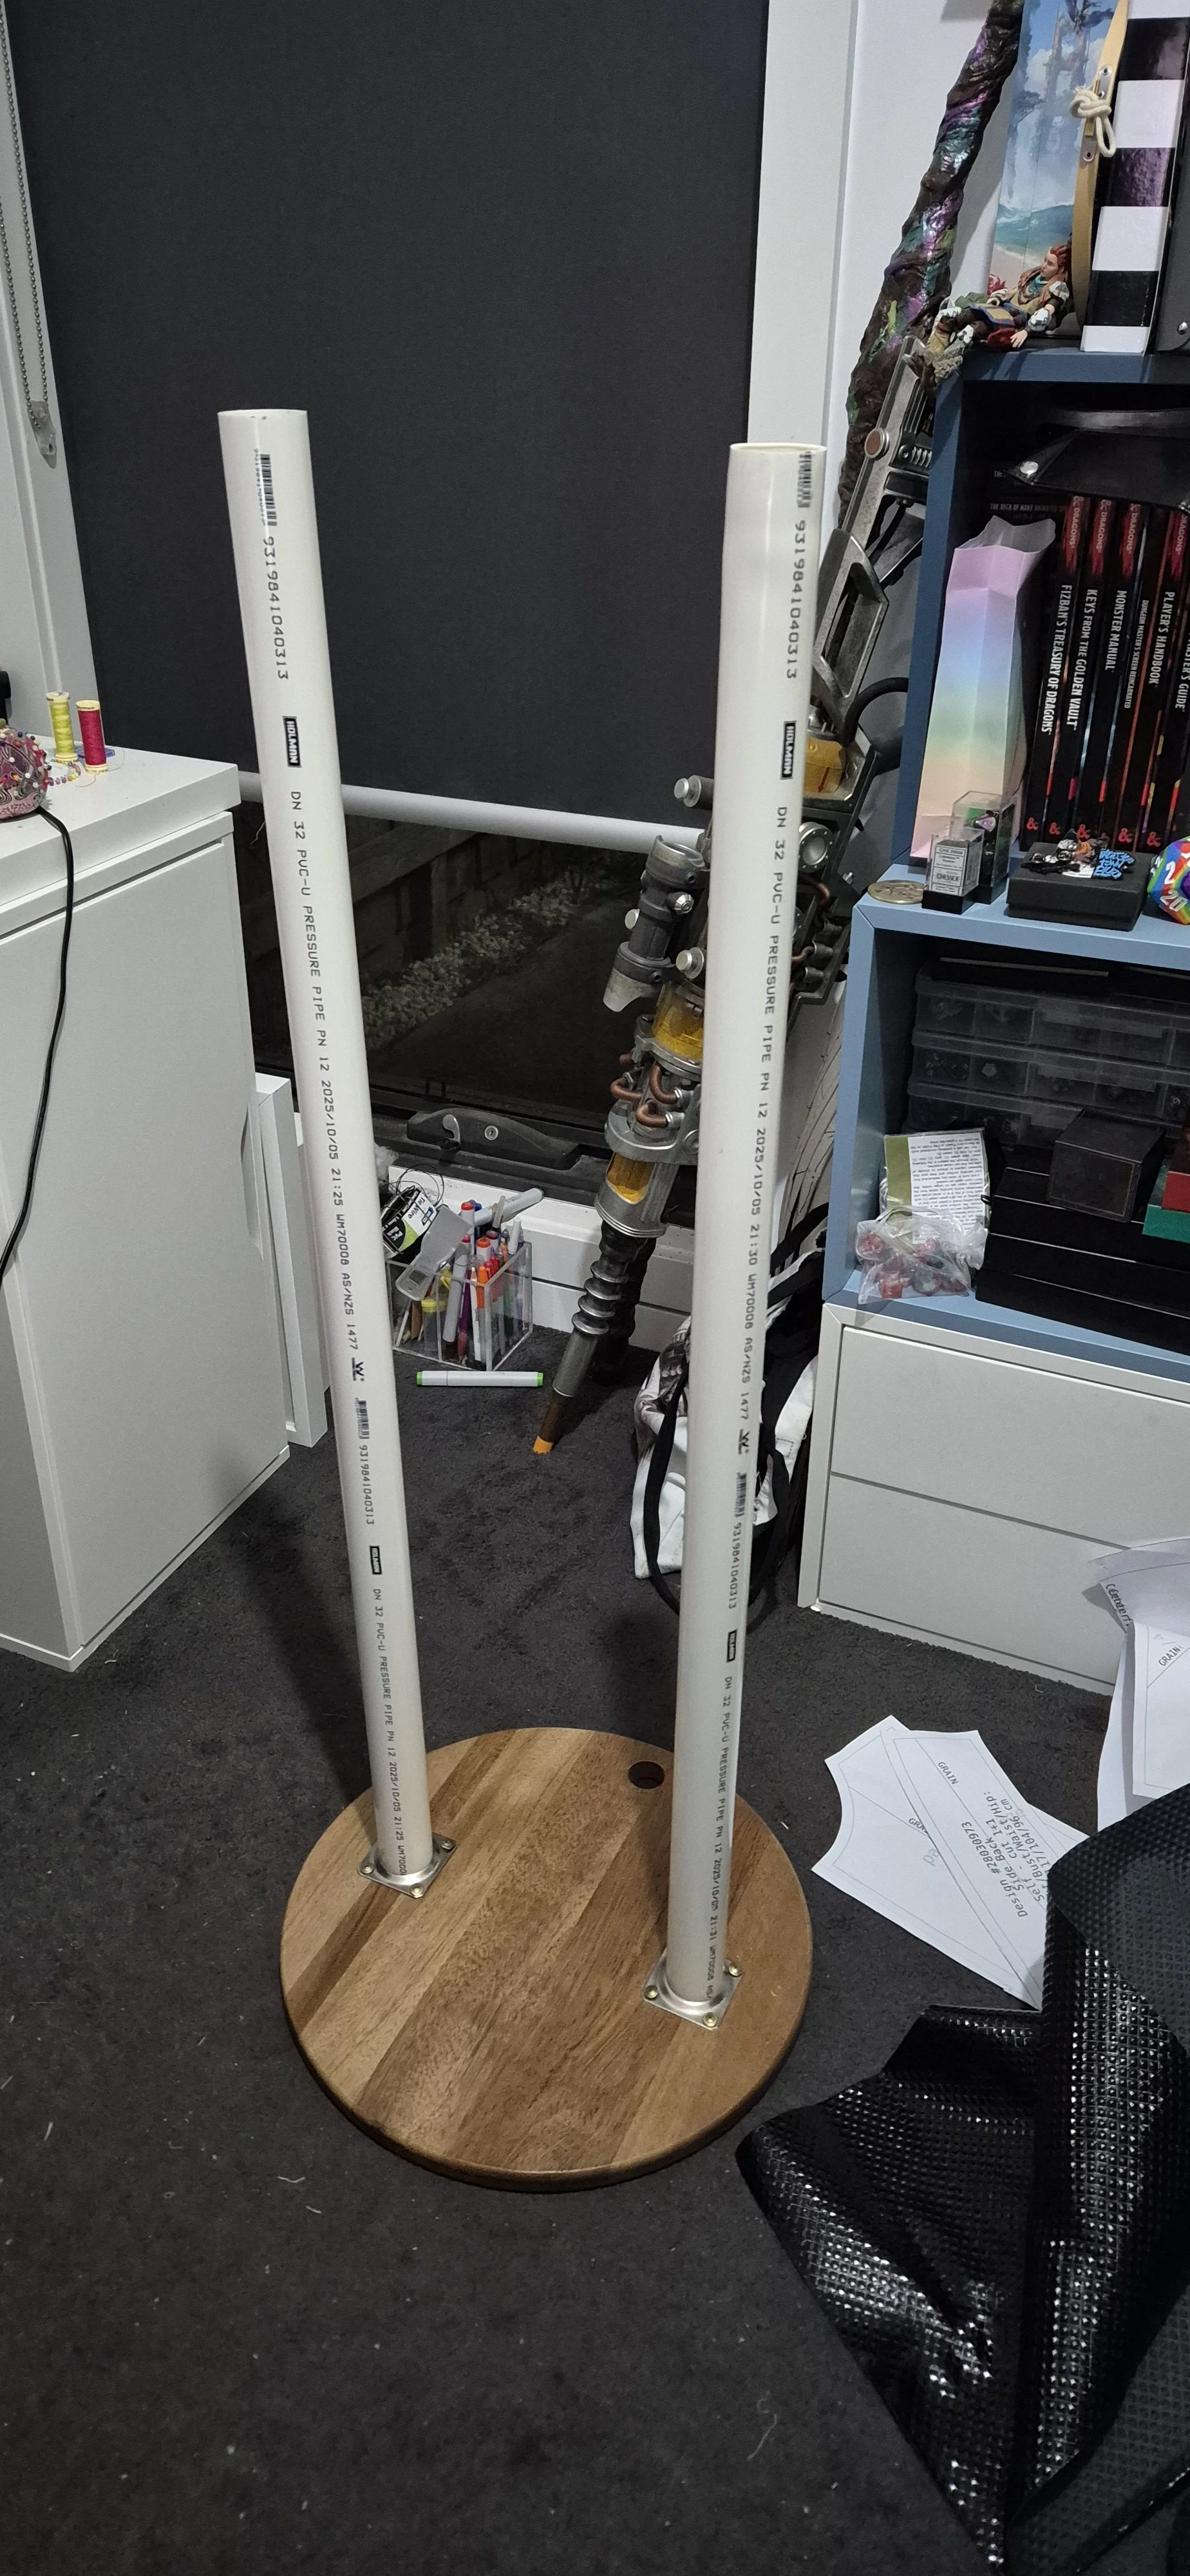
Of course, it’s all well and good to shove some pipes in the legs and call it a day, but now I had the problem of how those actually stood up. For the life of me I could not find an actual bracket that let me attach a pipe to a flat surface, so I ended up using a speaker stand model off Thingiverse and scaling it up to my needs. Unfortunately, these kept breaking, so I had to pivot. Final solution was table legs that fit into the pipes, held in with expanding foam. One didn’t quite stick properly, but it’s stable, which is the main thing. These were then screwed into a cheeseboard. Because it was a good size and Spotlight had a sale. I did consider a lazy susan but my better sense won out, I think it would have been too top heavy to be stable and functional.
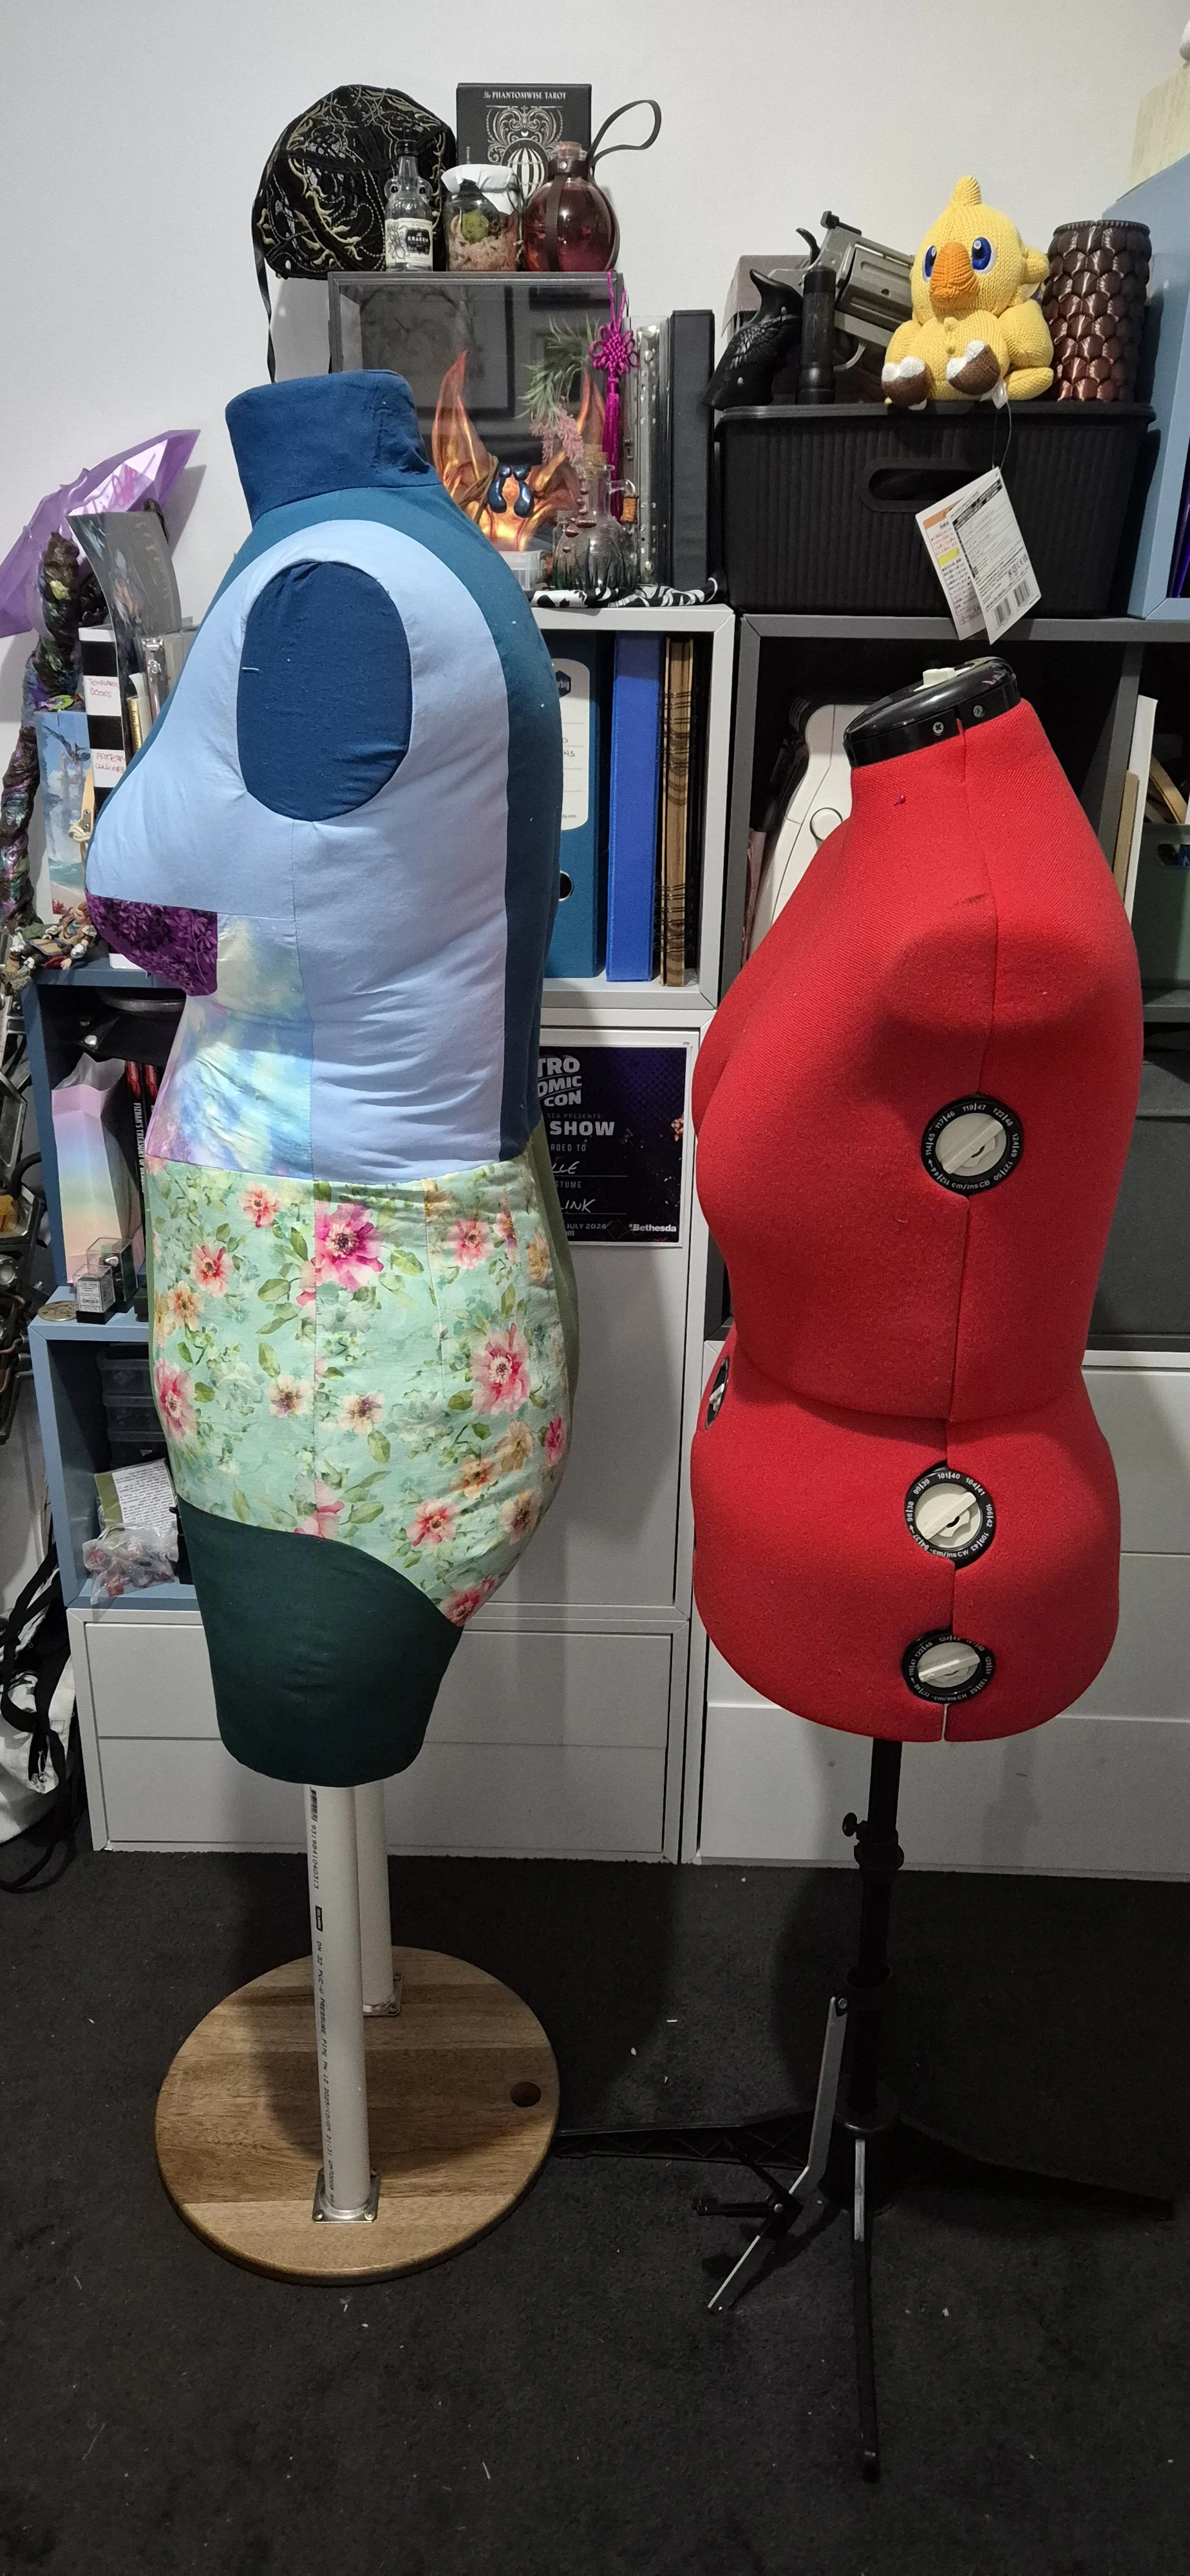
Somehow, despite my best efforts, the waist-crotch length has ended up about 3cm too long. I’m not enturely sure what happened there, it is something I will go back in and fix later if it bothers me. There is a PVC pipe spine that the stand would go into on the legless dressform, which was an absolute nightmare to get in, so I just don’t to deal with that again at the moment.
This was a nightmare due to my second change, and one I think is a bit of a flaw. The waist is meant to join the legs and torso via a seperating zipper. This is a very clever and wonderful idea because then you can join them togther like puzzle pieces. Except they don’t make seperating zippers that are long enough for my waist measurement, that I could find. I did get one, but it was still not long enough and was so chunky it was straight out of Kingdom Hearts. I maybe could have made it work, but it would have added more torso length which I clearly didn’t need, and I’d have had the same hinge problem.
The hinge I mean is to get around this, I sewed up the front of the waist, and then used that as a pivot point to flex the interior pipe sleeves enough to get the spine in. This is not how it was meant to work. It required more force than was probably reasonable. I could not glue the sleeves to the supporting waist cardboard properly. But it was in so that was good enough, and I could finally stuff it.
This thing ate through stuffing like it was nothing. You could maybe add some fabric scraps at the bottom for bulk, but I would recommend only at the bottom, because even with just polyfill it’s heavy. If you aren’t going to move it and have an actual well designed support structure that’s fine, but I want’ed to keep it as light as possible. I used around 3kg of stuffing, and I think it could use another 0.5-1kg to really be the appropriate solidness, but as I said I may go back in later for alterations, and I’ll add it then.
Speaking of alterations, this is the most trust the process build I’ve ever done. I would occasionally hold parts up to myself, and they seemed okay, but it really was impossible to know if the size and shape was okay until it was fully assmbled. Some of the measurements are currently 1-3cm too small, which is why I need more stuffing, but that’s something I can adjust for. It’s far far closer to me than what I had, and honestly, to expensive dressmaker forms. That was my other option, but by the time I padded to close to what I needed, it felt like too much work. Seemed easier to just go straight to custom. This also has the benefit of being modifiable with some stuffing addition or removal, or seam alterations.


Aside from the few hiccups I mentioned, I’m really glad I did this. It’s going to allow me to fit things far more easily, and actually learn how to drape patterns. Cost wise, it wasn’t cheap, but I’d put it at more than an adjustable, but far less than professional. (Unless you are a standard size and can get one off marketplace.) I spent around $225, but that’s excluding everything I had at home. Actual cost was probably closer to $300. Overall it is something I’d recommend, but maybe the standard legless version unless you see yourself wanting to make a lot of pants.